
How to Beat the Fell Wispwyvern (1.0)
The Fell Wispwyvern waits in The Pike, the castle behind Pikemead's Reach in Revelwood, where the enemies are level 11–15. It takes 120% from Fire and no damage from Shroud, so bring a Fire weapon, stay at its flank, and use the roar for a free stun. Its head is the key to the next Flame upgrade.
A lizard that spits Shroud, leaps at you and calls beetles. The boss page holds the numbers; this page puts them in the order you meet them.
Two kinds of source, kept apart. Where it stands, what it takes, the attack count and the upgrade its head pays for come from the 1.0 game files. The names and looks of its attacks and its drop table come from the wiki (CC BY-SA 4.0), in our words. The boss's own level and hit points are not in the files, so we do not print them.
Where to find it
The files place one Fell Wispwyvern at The Pike, about 1.5 km north-east of the Revelwood Ancient Spire in a straight line. Fast travel to the Spire, then head for Pikemead's Reach, the fallen capital, and go through it to the castle behind.
You do not have to go early: Revelwood opens with the Flame upgrade to level 3. The blacksmith's quest Reach The Capital, Pikemead's Reach walks the same road in 3 steps: *Reach The Capital, Pikemead's Reach*, then *Enter The Castle*, then *Defeat The Castle Beast*. Finishing it pays out the Fell Wispwyvern Head.
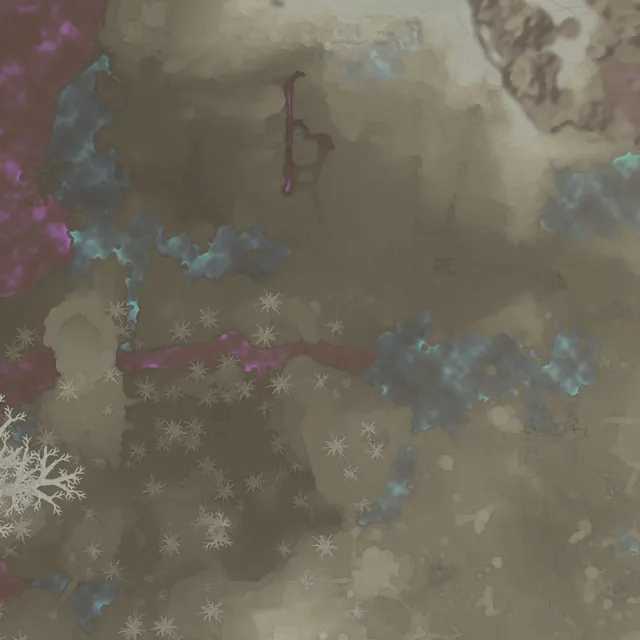
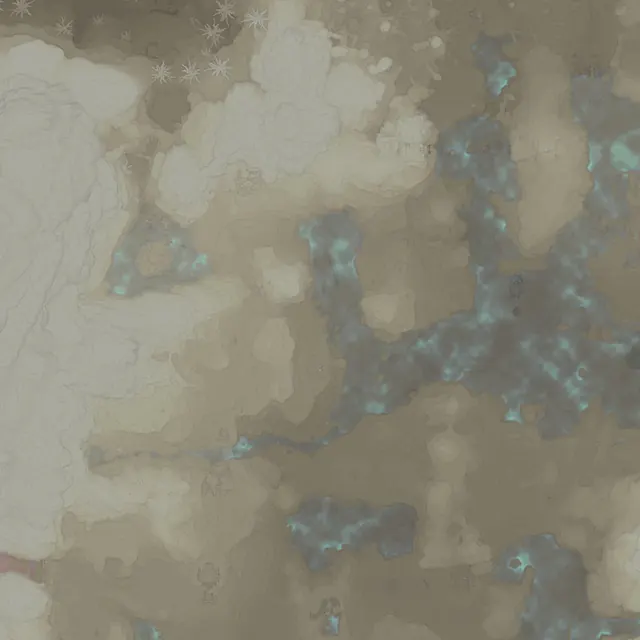
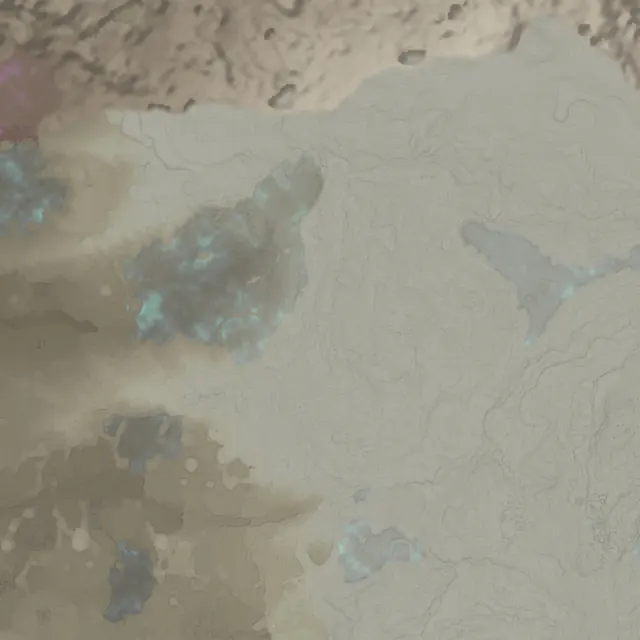
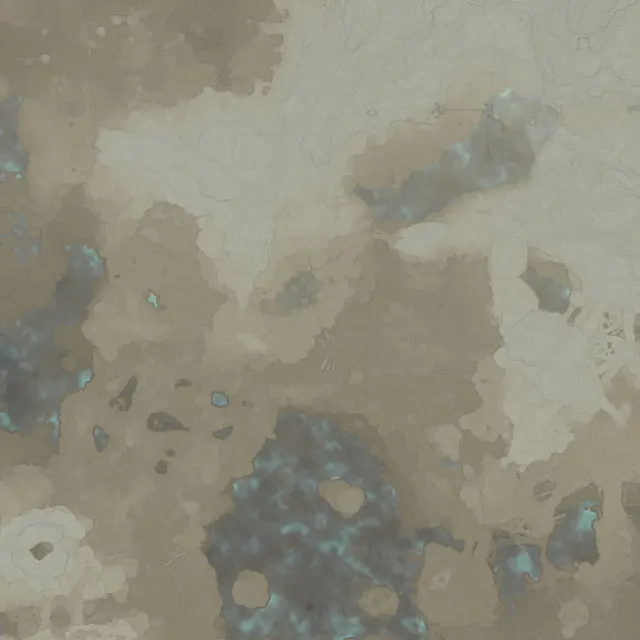
The Pike, where the files place the boss.
What level to bring
Reference level: 13. That is the typical enemy level of Revelwood (the middle 80 percent of its spawn points run 11–15). The boss's own level is not in the files, so treat it as a reference, not a promise.
What to bring
The damage table is the whole shopping list. Fire is its weak spot (120%), Poison is slightly resisted (90%), and Shroud does nothing at all (0%), so a Shroud-damage weapon or spell is wasted here. The file also stores a category multiplier: physical and magical hits both land at 50% before the per-type numbers, so expect a long fight, not a short one.
A cheap way to use the weak spot: Wailing Blade is half cutting, half Fire (50% Fire), so about 110% of its base damage lands on this boss (half at 120%, half at 100%). It lies in a gold chest in Springlands; see early legendary weapons. That 110% is our arithmetic on the shares, not a number the game prints. Its attacks are Shroud-based on the wiki, so the Mage skill Shroud Resistance and armor with Shroud resistance help.
All eight damage types
| Type | Takes |
|---|---|
| Cutting | 100% |
| Piercing | 100% |
| Blunt | 100% |
| Poison | 90% |
| Fire | 120% |
| Ice | 100% |
| Shroud | immune (0%) |
| Shock | 100% |
The fight, step by step
The template holds 7 attacks; the wiki names five of them, and those are the ones to learn. It can block and can be backstabbed in the files.
- Start at its flank, not in front. The wiki's Shroud Breath is a cone straight ahead; when it rears its head, roll to the side.
- Leave marked ground. In Shroud Spray it rears up and drops Shroud projectiles on reticles it paints on the floor. Keep moving until the volley ends.
- Dodge the pounce by leaving your spot. It jumps and lands where you were standing, so move the moment it leaves the ground.
- Hit the open mouth when it roars. The roar calls Fell Beetles; a hit on the open mouth stuns it and cancels the call. That is worth more than any damage you could deal in that second.
- Clear beetles at once if the roar gets through. They pull you off the boss and stack up if left.
- Stay off the tail. The tail sweep is a melee swipe when you stand behind it.
- Strike after its attacks, not during them. One or two hits after each dodge, then back to the flank. Fire goes on the boss, never Shroud.
More players, more health
Each extra player adds 70% to its health in the 1.0 files, and nothing to its damage. A duo faces a longer fight, not a harder-hitting one. See the co-op guide.
Drops and what the head unlocks
The Fell Wispwyvern Head is the one drop that matters for progress: the Flame upgrade to level 4 costs 1 of it and opens Nomad Highlands. The quest above hands it over too.
The wiki's drop table, for the rest: Shroud Core ×3, Legendary Runes ×10, Fell Wispwyvern Head ×1, Commander's Ring ×1, Key to The Pike ×1. The extras are not checked against the files, so treat them as wiki information.
| Item | Quantity | Type |
|---|---|---|
| Shroud Core | 3 | Materials |
| Legendary Runes | 10 | Materials |
| Fell Wispwyvern Head | 1 | Materials |
| Commander's Ring | 1 | Ring |
Common mistakes
Bringing a Shroud weapon. It takes 0% from Shroud; swap it before the fight.
Fighting in front of it. Breath and spray both point forward; the flank is the safe side.
Chasing damage during the roar. Stunning it is the point, not trading blows.
Going before you can heal. The fight is long (physical and magical hits land at 50%); bring food. For the next boss and the route, see the progression order.
Related guides
Early Legendary Weapons in Enshrouded (1.0)
The 7 Legendary weapons you can walk to before the Kindlewastes (levels 3–20): where each is, what it does and which build wants it. From the 1.0 game files.
Enshrouded Progression Order: All 7 Regions (1.0)
Enshrouded 1.0 region order on a level map: each region's enemy level, the Flame level that opens it and its Shroud Roots, Springlands to Cinder's Cradle.