Updated for Enshrouded 1.0
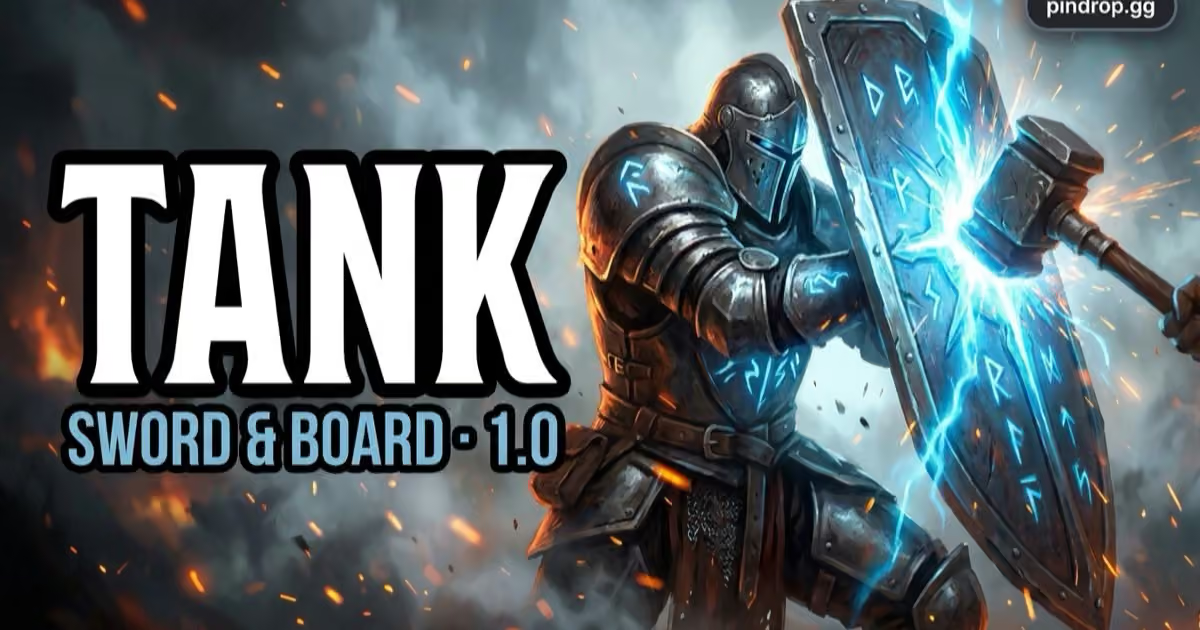
Enshrouded Sword & Board Tank Build for 1.0
Warriormostly Warrior
50/ 212 skill points
Complete by level 26 from level-ups alone · written for level 30
Key skills
- Vigorous Deflection3/3
- Heavy Plates3/3
- Shiny Plates3/3
Also known asSword & BoardTank BuildHeavy Plate Tank
Parry and hold: Vigorous Deflection for stamina on a parry, Heavy and Shiny Plates for armor, Warden and Tower when you are surrounded, Earth Aura for the group.
50 pts · 30 nodesWritten for level 30Checked against Enshrouded 1.0 (released )
At a glance
Complete by level 26 from level-up points alone (2 per level).
Points by tree area
- Warrior 50
Attribute pips
- CON9
- STR8
Key skills
The nodes the build is for. “1.0 files” are the values the 1.0 game data stores per rank; “Before 1.0” is the skill's pre-1.0 wiki description, kept for what it does, not its numbers.
Vigorous DeflectionDefining
Warrior1 pt per rank
1.0 files: 15 per rank
Before 1.0: You gain 30 stamina when you parry an enemy's attack.
Heavy Plates
Warrior1 pt per rank
1.0 files: 4% per rank
Shiny Plates
Warrior1 pt per rank
1.0 files: 4% per rank
Warden
Warrior3 pts
1.0 files: 10%
Tower
Warrior3 pts
1.0 files: 10%
Before 1.0: When there are three or more enemies within 20 meters you suffer 10% less physical damage.
Earth Aura
Warrior2 pts per rank
1.0 files: 10% · 4 per rank
Before 1.0: You emit a protective aura that reduces all incoming damage by 10% for you and allies within 10 meters.
Battle Heal
Warrior2 pts per rank
1.0 files: 1% per rank
Absorb
Warrior1 pt per rank
1.0 files: 4% per rank
Buy order by level
In order, each step at the first level whose level-up points cover it (2 per level). Shroud Roots and Elixir Wells give extra points and move every step earlier.
Level 22 pts total
- +2 CON
Level 34 pts total
- Barbarian's Path1/3
- +1 STR
Level 45 pts total
- +1 CON
Level 58 pts total
- Heavy Plates3/3
Level 711 pts total
- Shiny Plates3/3
Level 814 pts total
- Warrior's Path3/3
Level 916 pts total
- Steadfast1/3
Level 1017 pts total
- +1 STR
Level 1120 pts total
- Vigorous Deflection3/3
Level 1222 pts total
- +2 CON
Level 1324 pts total
- Absorb2/3
Level 1426 pts total
- +1 STR
- +1 CON
Level 1527 pts total
- +1 STR
Level 1731 pts total
- Battle Heal2/3
Level 1834 pts total
- Warden
Level 2038 pts total
- Tower
- +1 STR
Level 2140 pts total
- Brute1/3
Level 2242 pts total
- +2 STR
Level 2343 pts total
- +1 STR
Level 2445 pts total
- Nemesis1/3
Level 2548 pts total
- Earth Aura1/3
- +1 CON
Level 2650 pts total
- +2 CON
Gear
Only weapons and sets we can match to an item in the 1.0 game files. Tiers come from those files; a “likely match” agrees on 4–5 of 5 perk slots rather than all of them.
 HailscourgeprimaryOne-handed SwordsT2–T7in 1.0 filesOne-handed sword the 1.0 files carry from T2–T7.
 Wolf's HydraprimaryOne-handed ClubsT3–T7in 1.0 filesOne-handed club, T3–T7 in the 1.0 files — all blunt damage, the one weapon here the Brute rank raises.
 Stonewrought SwordsecondaryOne-handed SwordsT3in 1.0 filesOne-handed sword (T3), all cutting damage in the 1.0 files.
 Rising Fighter SetArmor setitem level 5in 1.0 filesTier-1 Warrior set in the 1.0 files.
 Tank SetArmor setitem level 15in 1.0 filesTier-3 Warrior tank set in the 1.0 files.
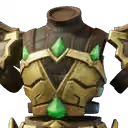 Sunpiercer SetArmor setitem level 40in 1.0 filesTier-6 Warrior set — the late-game armor.
Loadout in the planner’s slots
The picks above as slots: the first two weapons, and the highest-level armor set listed at or under level 30. Open skills and gear in the planner →
Weapons


Armor
 HeadGuardian HelmetLevel 15 · Rare · WarriorBlunt Armor · Piercing Armor · +1 Purification · Cutting Armor · +1 Nemesis
 ChestGuardian ChestplateLevel 15 · Rare · WarriorCutting Armor · Piercing Armor · +1 Heavy Plates · +1 Heavy Plates · 1 unnamed perk
 HandsGuardian GlovesLevel 15 · Rare · WarriorShroud Armor · Cutting Armor · +1 Soul Leech · +1 Soul Leech · 1 unnamed perk
 LegsGuardian TrousersLevel 15 · Rare · WarriorCutting Armor · Blunt Armor · +1 Shiny Plates · +1 Absorb · 1 unnamed perk
 FeetGuardian BootsLevel 15 · Rare · WarriorBlunt Armor · Piercing Armor · +1 Purification · Vital · +1 Earth Aura
Farm this build
On the map
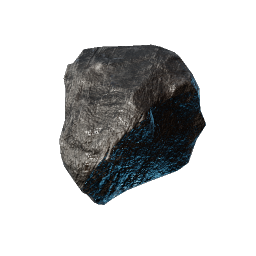 419Coal
 40Archaic Shards(or similar)
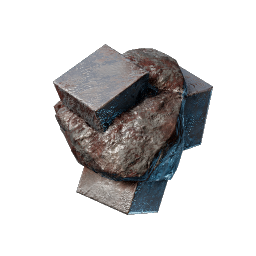 40Iron Ore
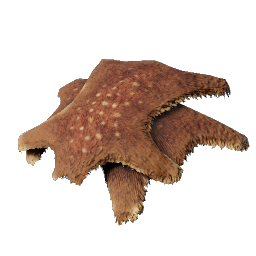 30Animal Fur
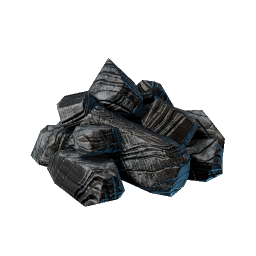 8Charcoal
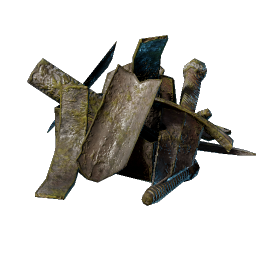 8Metal Scraps
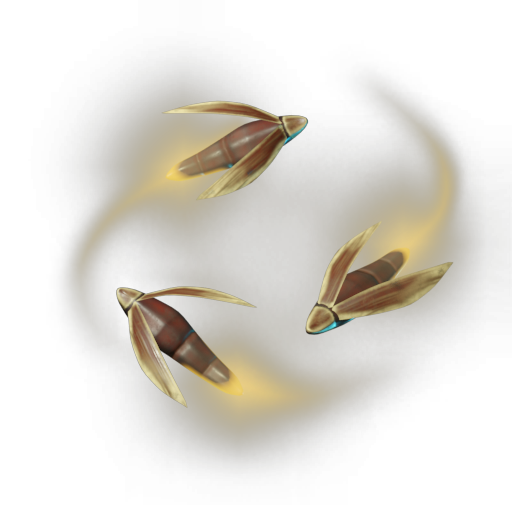 6Fire Fly
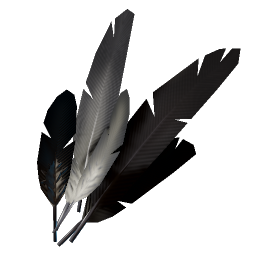 4Feather
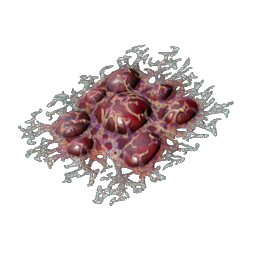 2Corrosive Blood
Not on the map
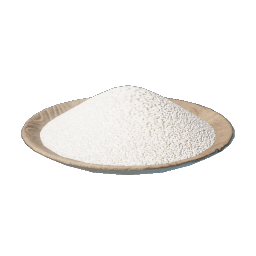 150Salt
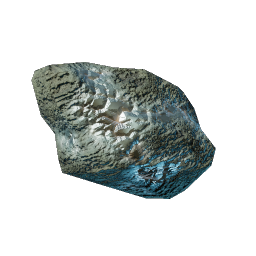 105Tin Ore
 105Wood Logs
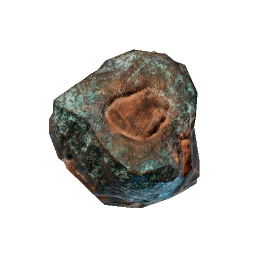 100Copper Ore
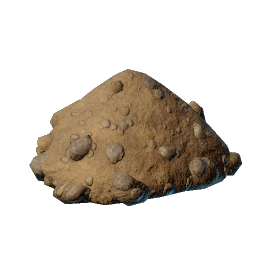 21Springlands Dirt
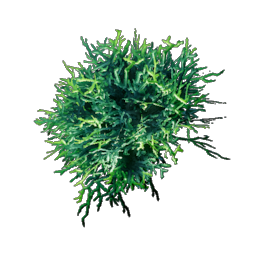 15Acidic Mycelium
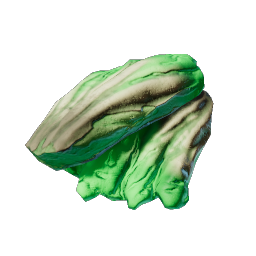 10Mint Mushroom Meat
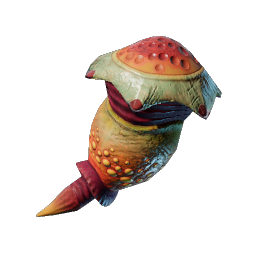 8Ammonia Gland
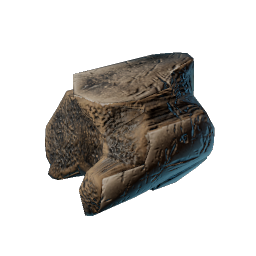 6Fossilized Bone
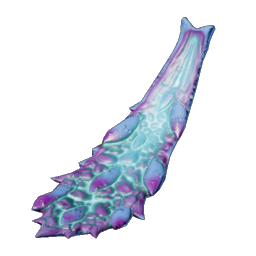 5Brittle Shroud Petals
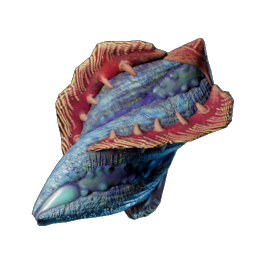 4Critter Glands
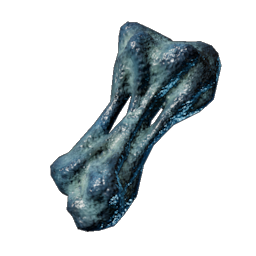 4Shroud Adhesive
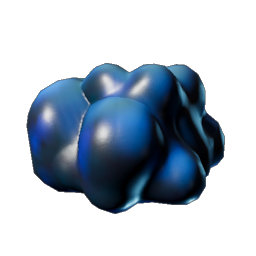 3Shroud Gelatin
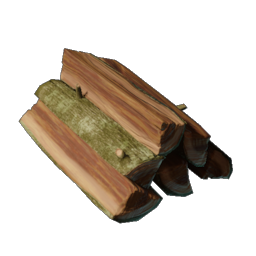 3Tropical Wood
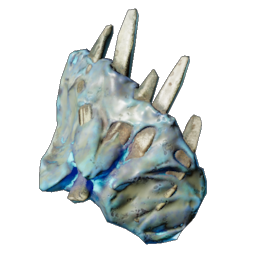 2Monstrous Ribs
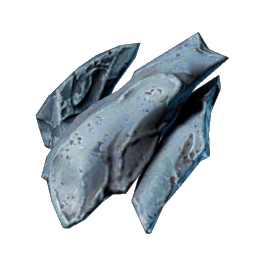 2Petrified Shroud Stalker Shell
Not placed in the world: enemy drops, ore veins in the terrain, chests’ random loot or trade.
One of each piece, from the 1.0 recipes, intermediate crafts rounded up to whole batches. Map counts are placements, not ore veins.
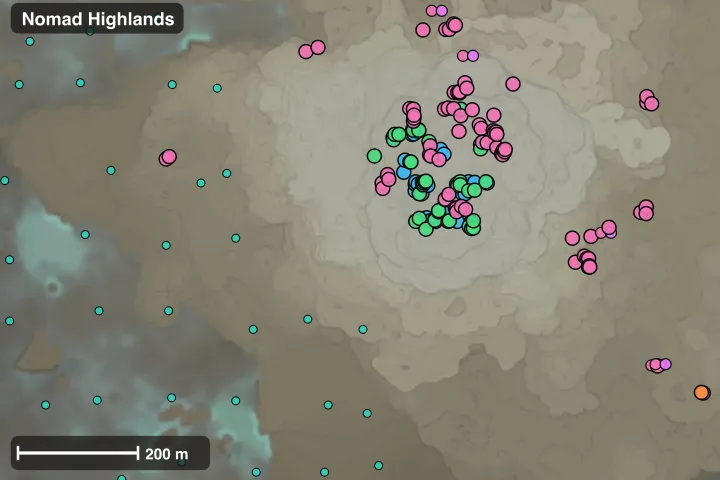
- Coal0 here · 419 needed
- Archaic Shards53 here · 40 needed
- Iron Ore44 here · 40 needed
- Animal Fur90 here · 30 needed
- Charcoal0 here · 8 needed
- Metal Scraps1 here · 8 needed
- Fire Fly225 here · 6 needed
- Feather5 here · 4 needed